

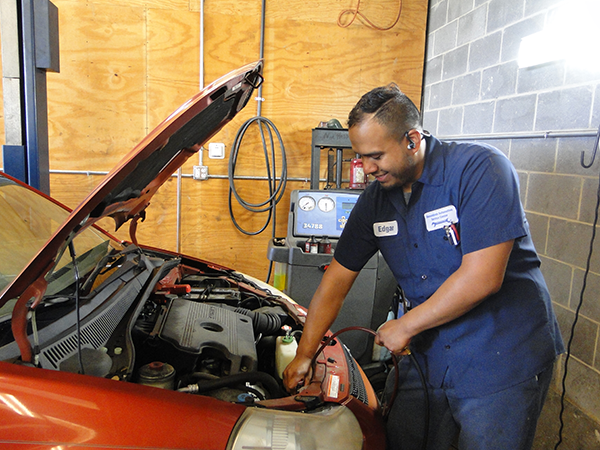
Regular oil changes are essential for maintaining your car’s engine health and ensuring smooth performance. While you can always take your car to a mechanic, performing a DIY oil change is a cost-effective and satisfying task that any car owner can learn. In this guide, we’ll walk you through how to perform a DIY oil change in 5 simple steps, allowing you to keep your engine running smoothly while saving time and money.
Step 1: Gather Your Supplies
Before you begin, make sure you have all the necessary tools and materials. Having everything on hand will make the process faster and more efficient.
What You’ll Need:
- Motor Oil: Check your owner’s manual for the recommended type and quantity of oil for your vehicle.
- Oil Filter: Again, consult your owner’s manual to find the correct oil filter.
- Oil Filter Wrench: This tool helps you remove the old oil filter easily.
- Socket Wrench: You’ll need this to remove the oil drain plug.
- Drain Pan: To catch the old oil as it drains from the engine.
- Funnel: Useful for pouring the new oil into the engine without spilling.
- Gloves: To keep your hands clean and protected.
- Jack and Jack Stands: To lift your car safely if needed.
- Rags: For wiping up any spills or drips.
Preparation Tips:
Make sure your car is parked on a level surface and the engine is cool. This will prevent burns and ensure the old oil drains out completely.
Step 2: Drain the Old Oil
Draining the old oil is the first crucial step in performing an oil change. This process allows you to remove the dirty, used oil from your engine, making room for fresh oil that will lubricate the engine’s components effectively.
How to Drain the Oil:
- Lift the Car (If Needed): If your car sits low to the ground, use the jack to lift it and place jack stands for safety.
- Locate the Oil Drain Plug: Refer to your owner’s manual to find the oil drain plug under your car. It’s typically located on the bottom of the engine’s oil pan.
- Place the Drain Pan: Position the drain pan under the drain plug to catch the oil as it drains out.
- Remove the Drain Plug: Use the socket wrench to loosen and remove the drain plug. Allow the oil to drain completely, which can take a few minutes.
- Replace the Drain Plug: Once the oil has drained, clean the drain plug and reinstall it securely with the socket wrench.
Step 3: Replace the Oil Filter
The oil filter plays a vital role in keeping your engine’s oil clean by trapping contaminants. Replacing the oil filter during every oil change is essential to maintain optimal engine performance.
How to Replace the Oil Filter:
- Locate the Oil Filter: The oil filter is usually a cylindrical part attached to the engine. Your owner’s manual can help you locate it.
- Remove the Old Filter: Use the oil filter wrench to loosen and remove the old oil filter. Be prepared for some oil to spill out.
- Prepare the New Filter: Before installing the new filter, apply a small amount of fresh oil to the rubber gasket on the top of the filter. This ensures a proper seal.
- Install the New Filter: Screw the new filter into place by hand. Tighten it securely, but do not over-tighten.
Step 4: Add the New Oil
With the old oil drained and the filter replaced, it’s time to add fresh oil to your engine.
How to Add New Oil:
- Locate the Oil Fill Cap: Open your car’s hood and find the oil fill cap, usually marked with an oil can icon.
- Insert the Funnel: Place the funnel in the oil fill opening to prevent spills.
- Pour in the New Oil: Slowly pour the recommended amount of new oil into the engine. Refer to your owner’s manual for the exact quantity.
- Check the Oil Level: After adding the oil, use the dipstick to check the oil level. Add more oil if needed, but be careful not to overfill.
- Replace the Oil Fill Cap: Once you’ve filled the engine with oil, replace the oil fill cap securely.
Step 5: Check for Leaks and Dispose of Old Oil
Before wrapping up, it’s essential to check for any leaks and properly dispose of the old oil and filter.
Final Checks:
- Start the Engine: Turn on your car and let it run for a minute. Check under the vehicle for any leaks around the drain plug and oil filter.
- Turn Off the Engine and Recheck the Oil Level: After the engine has run briefly, turn it off and check the oil level again using the dipstick. Add more oil if necessary.
- Dispose of Old Oil and Filter: Take the old oil and filter to a recycling center or an auto parts store that offers oil disposal services. Never pour old oil down the drain or into the trash.
Conclusion
Performing a DIY oil change is a straightforward process that not only saves you money but also gives you a better understanding of your vehicle’s maintenance needs. By following these five simple steps—gathering your supplies, draining the old oil, replacing the oil filter, adding new oil, and checking for leaks—you can keep your engine running smoothly and extend the life of your vehicle.